How to Clean Your Toilet Flush and Make It Look Like NewKeeping a toilet flush system clean helps improve hygiene, water flow, and overall bathroom freshness. Over time, mineral deposits, bacteria, and dirt can build up inside and around the flush components.Here’s a simple, safe way to clean it properly.
What you’ll need
- White vinegar
- Baking soda (optional)
- Soft brush or old toothbrush
- Microfiber cloth
- Gloves
- Mild dish soap
Step-by-step cleaning method
1. Turn off water supply (optional but safer)
If you’re cleaning inside the tank, turn off the water valve behind the toilet.
2. Clean the flush handle/button
- Wipe the outside with a cloth dipped in soapy water
- Use a toothbrush for corners and edges
- Dry with a clean cloth to avoid water spots
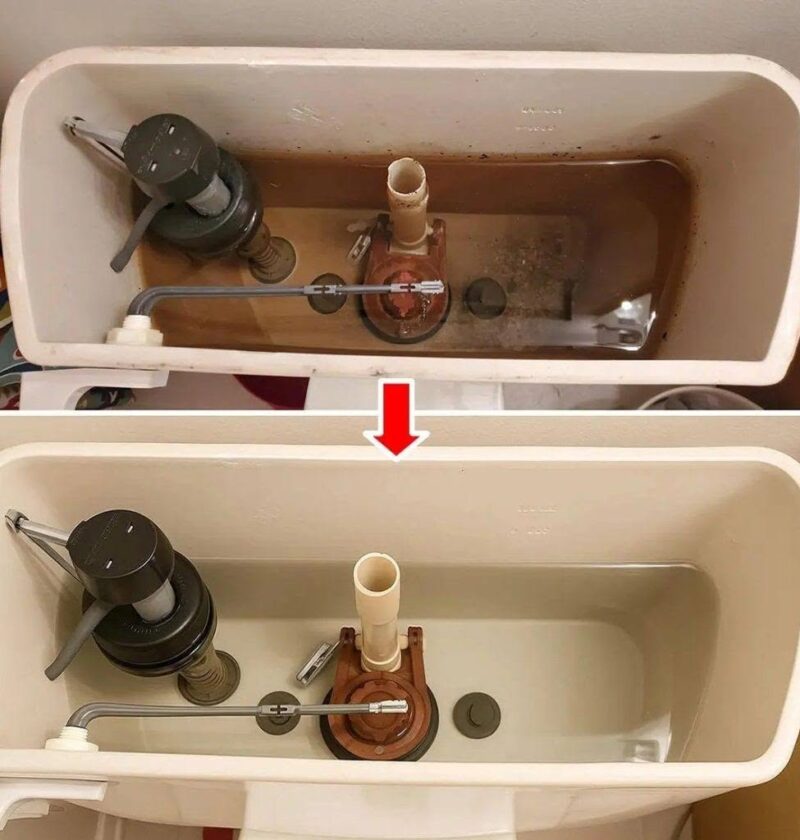
3. Clean inside the tank (important for full “like new” effect)
Open the tank lid carefully.
- Pour 1–2 cups of white vinegar into the tank
- Let it sit for 30–60 minutes
- Scrub gently inside using a soft brush
This helps remove limescale and bacteria buildup.
4. Clean the flush mechanism
Focus on:
- Chain or button mechanism
- Rubber flapper (bottom seal)
- Inner walls of the tank
Use vinegar and a soft brush to avoid damage.
5. Flush and rinse
Turn water back on and flush several times to clear residue.
Optional deep-clean boost
For stubborn stains or mineral buildup:
- Add baking soda + vinegar (let it fizz for 10–15 minutes before scrubbing)
How often to clean
- Light cleaning: once a week (outside parts)
- Deep cleaning: once a month (inside tank)
Important tips
- Avoid harsh chemicals inside the tank (they can damage rubber parts)
- Don’t mix bleach and vinegar
- Always scrub gently to protect internal components
Bottom line
A clean toilet flush isn’t about magic products—it’s about regular maintenance and mild cleaners like vinegar and soap.
If you want, I can also show you a 5-minute “hotel bathroom cleaning routine” that keeps the whole toilet looking brand new daily.