If by “toilet flush” you mean the flush button, handle, tank, and internal flushing mechanism, a good cleaning can improve both appearance and performance.
🚽 What you’ll need
- Warm water
- Mild dish soap
- Microfiber cloth or sponge
- Old toothbrush
- White vinegar
- Rubber gloves
1. Clean the flush button or handle
- Wipe with warm soapy water.
- Use a toothbrush around edges and crevices.
- Dry with a clean cloth to prevent water spots.
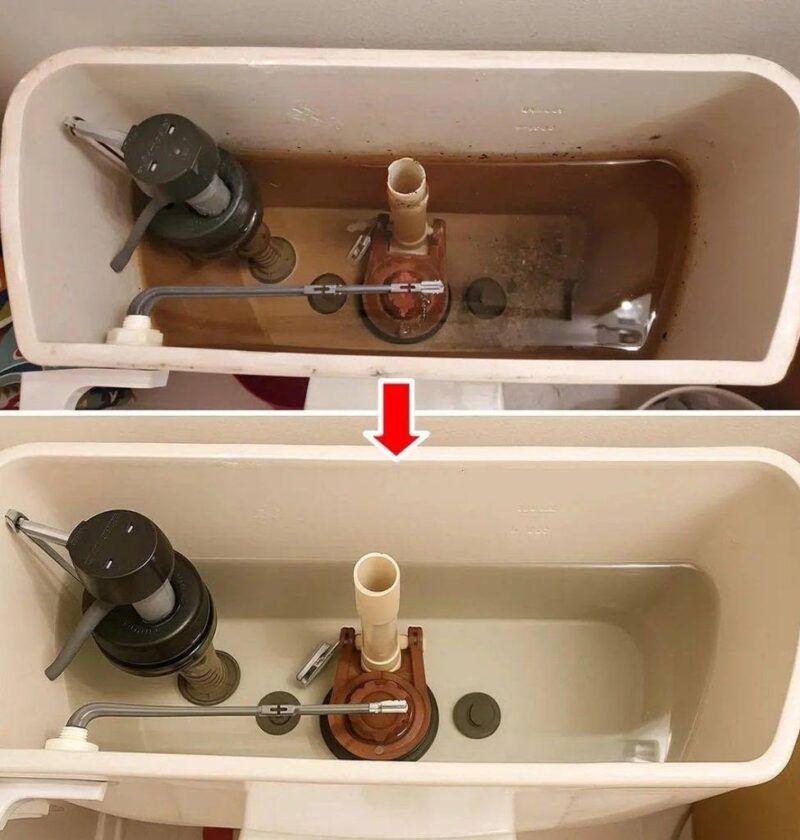
2. Clean the toilet tank (inside)
- Turn off the water supply.
- Flush the toilet to empty most of the tank.
- Inspect for mineral deposits or grime.
- Add white vinegar and let it sit for 1–2 hours.
- Gently scrub accessible surfaces with a soft brush.
- Turn the water back on and flush several times.
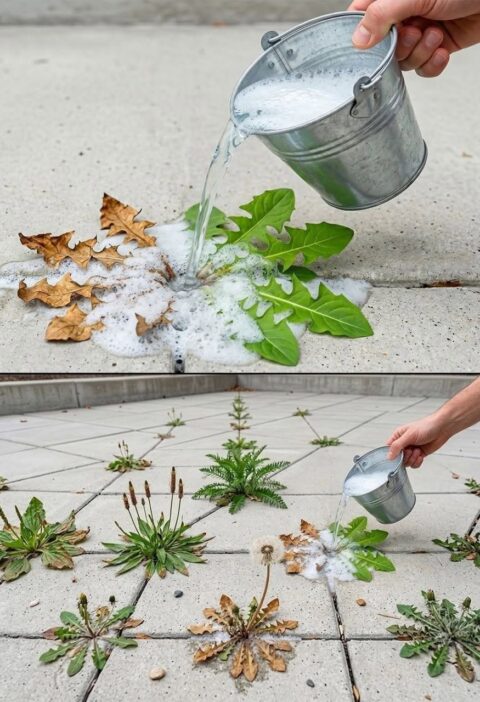
Vinegar can help dissolve mineral buildup caused by hard water.
3. Clean the rim and flush jets
The small holes under the toilet rim can become clogged with mineral deposits.
- Pour vinegar into the overflow tube inside the tank.
- Let it sit for at least 30 minutes.
- Scrub under the rim with a toilet brush.
- Flush several times.
4. Remove limescale
If you see white, chalky deposits:
- Apply vinegar to the affected areas.
- Let it soak before scrubbing.
- Repeat if necessary.
5. Polish exterior surfaces
- Wipe the tank, lid, handle, and surrounding surfaces.
- Dry thoroughly for a cleaner, shinier appearance.
⚠️ Avoid
- Mixing vinegar with bleach or other cleaners.
- Abrasive pads on delicate finishes, which can scratch surfaces.
- Harsh chemicals that may damage rubber seals inside the tank.
✨ To keep it looking new
- Wipe handles and buttons weekly.
- Clean the tank every few months.
- Address hard-water deposits before they become heavy buildup.
A regular maintenance routine usually does more for a toilet’s appearance and flushing performance than any single “miracle” cleaning hack.