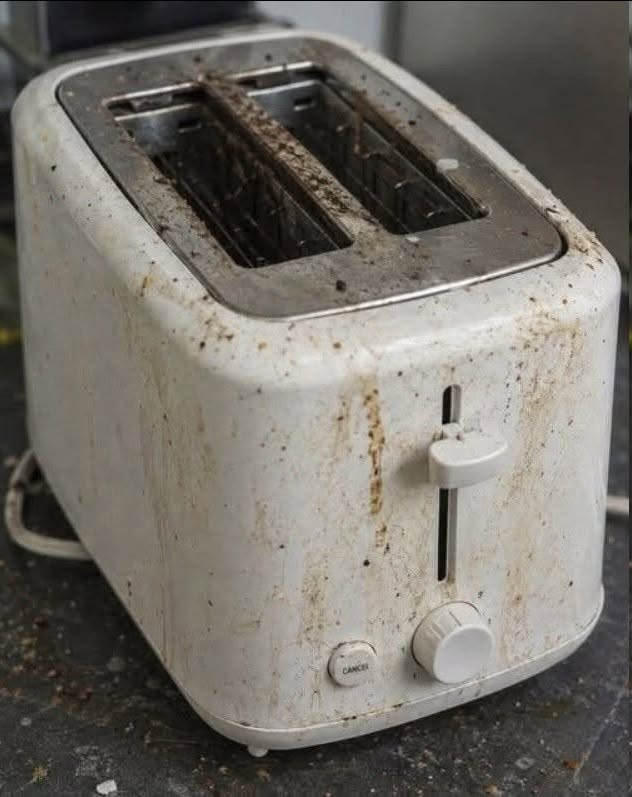
I get why you’re annoyed, but the good news is: most “bad toaster conditions” look worse than they are, and you can usually restore it safely with a bit of patience.
First thing—unplug it and don’t use water inside the toaster body itself. That’s the main rule.
🔧 Safe way to clean a heavily dirty toaster
1. Empty all crumbs first
- Take it to a sink or trash bin
- Turn it upside down and gently shake
- Use a soft brush (paintbrush or pastry brush) to loosen stuck crumbs
2. Remove the crumb tray (if it has one)
- Slide it out from the bottom
- Wash it with warm soapy water
- Dry it completely before putting it back
3. Clean the inside (dry method only)
- Use a soft toothbrush or dry paintbrush
- Gently dislodge stuck crumbs near the heating elements
- You can also use a vacuum with a narrow nozzle
⚠️ Avoid metal tools—they can damage the heating wires.
4. Wipe the exterior
- Use a slightly damp cloth with mild dish soap
- Don’t let water drip into slots
- For stainless steel, wipe in one direction for a cleaner finish
5. Remove stubborn burnt smell or grease
- Wipe exterior with a mix of vinegar + water (lightly damp cloth only)
- Let it air dry completely
6. Final step: dry burn cycle
- Plug it in empty and run it once on a low setting
- This helps burn off remaining crumbs or moisture smells
- Do this only if you’re sure it’s fully dry
⚠️ When NOT to keep using it
Replace the toaster if you notice:
- Melted plastic inside
- Exposed or damaged wires
- Burnt electrical smell even when empty
- Rust on heating elements
🧠 Practical note for renters
If it’s extremely dirty (grease buildup, insects, or mold), it may be worth treating it as replace rather than restore, since toaster cleaning has safety limits.
If you want, you can describe what condition it’s in (or upload a photo), and I’ll tell you whether it’s salvageable or better to throw away.